
Use the Option Definition page to create and manage the options for the reports in your Reserves instance.
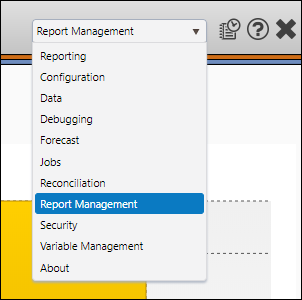
- Select Report Management from the Navigation Toolbar.
- Click on the Reports tab, and then the Option Definition page.
Create a new Report Option
To create a new report option, follow these steps:
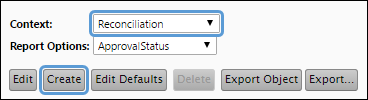
- Select the context in which you want to create a new report option using the Context drop-down menu.
- Click the Create button.
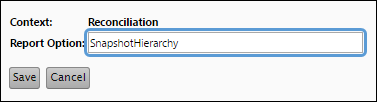
- Enter a name for your report option in the Report Option field.
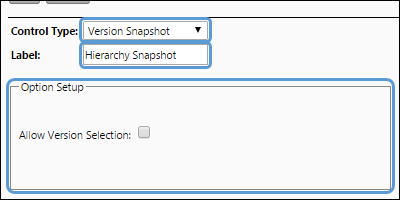
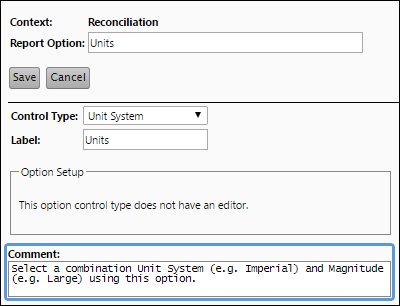
- Select a control type using the Control Type drop-down menu.
- Certain control types include options that will need to be configured. If necessary, set up the control's options at this time.
- Enter a display name for your option in the Report Option field. This will be the name that appears on The Report Options Page.
- (Optional) Enter comments associated with your option in the Comment field.
- Click the Save button to save your option.
Click image to expand or minimize.

Create Tooltip Comments
You may wish to add tooltip comments to your report options. Typically, tooltip comments are used to store brief descriptions of your report options. To set up a tooltip comment, follow these steps:
- After accessing the Option Definition page, select a context using the Context drop-down menu.
- If you are making changes to a preexisting report option, select the option you intend to modify using the Report Option drop-down menu and then click the Edit button. If you are creating a new report option, click the Create button.
- While creating or editing a report option, locate the Comment field below the Option Setup pane.
- Enter your tooltip comment in the Comments field.
- Click the Save button to save your report option.
Click image to expand or minimize.
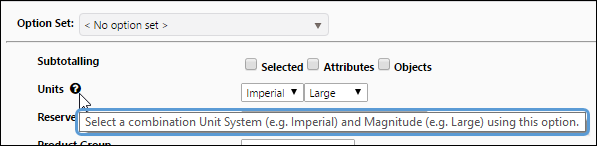
Now, when users access The Report Options Page, they can view the comment by hovering over the tooltip icon wherever the report option is used.
Create Comment Report Options
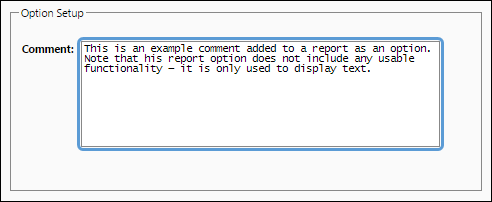
You can create comment report options using this page. These comments are placeholders for report options, and won't include any usable functionality. Instead, they are used to display blocks of text within your report options. Once you've created a comment report option, you will need to assign it to your reports using The Report Manager Page. To create a comment report option, follow these steps:
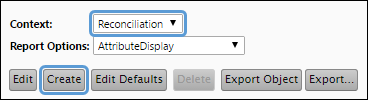
- After accessing the Option Definition page, select the context for your report option control using the Context drop-down menu. Remember that report options are context sensitive.
- Click the Create button.
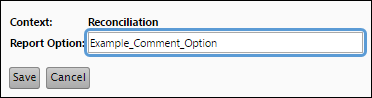
- Enter a name for your report option in the Report Option field. Option names must start with a letter or underscore, and cannot include spaces.
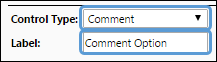
- Select Comment using the Control Type drop-down menu.
- Enter a label for your for your comment option in the Label field. The name you enter here will be used as a display name for your option on The Report Options Page.
- Add the text you want to display on The Report Options Page to the Comment field.
- (Optional) Add a tooltip comment to your comment option using the Comment field below the Option Setup pane.
- Click the Save button to save your comment loader option.
Click image to expand or minimize.

Once you have finished setting up your comment option, assign it to your reports using The Report Manager Page.
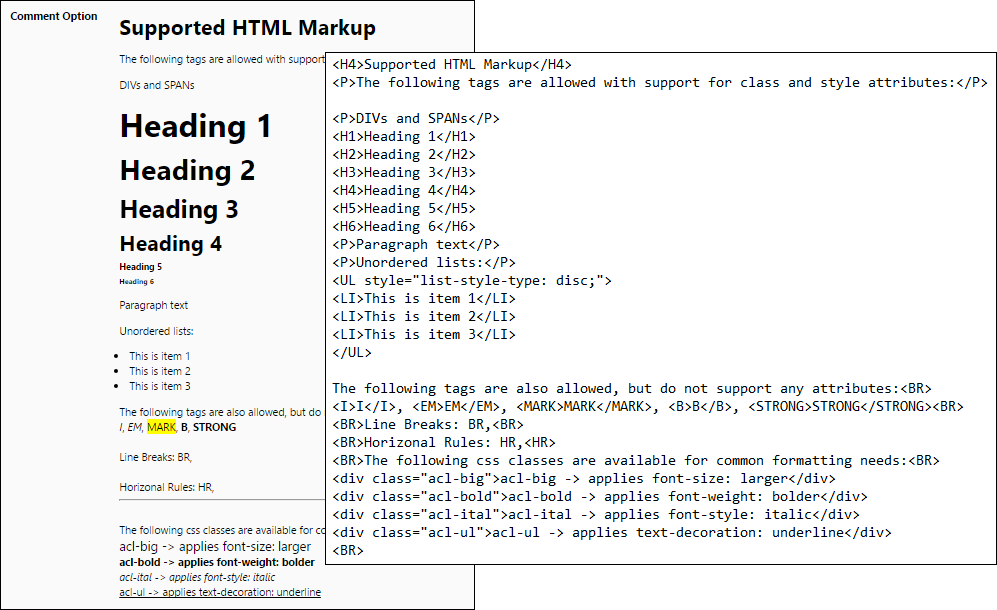
Styling Comment Report Options
You can style and format comment report options using HTML. In the example below, an example styled comment is displayed.
Click image to expand or minimize.
Edit a Report Option
To make changes to a report option, follow these steps:
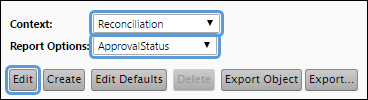
- Select the context associated with the option you wish to modify using the Context drop-down menu.
- Select the option you wish to modify using the Report Options drop-down menu.
- Click the Edit button.
- Modify your control's options as necessary.
- Click the Save button to save your changes.
Delete a Report Option
To delete a report option, follow these steps:
- Select the context associated with the option you wish to delete using the Context drop-down menu.
- Select the option you wish to delete using the Report Options drop-down menu.
- Click the Delete button.
- You will be prompted to confirm the deletion. Click OK to delete your report option.
Adding Options to Reports
After you create report options, link them to reports using The Report Manager Page.
Viewing Report Comments
Once comments have been added to your reports, you can view the comments on The Report Options Page.